


Are you decorating your baby’s bedroom? Are you looking for something different, with a homemade touch? In this tutorial, we explain how to make a simple but beautiful frame.
The result is a unique stylish frame, ready in no time!
Would you like to make your own? Let’s start!
How to make a decorative frame.

The materials you need are :
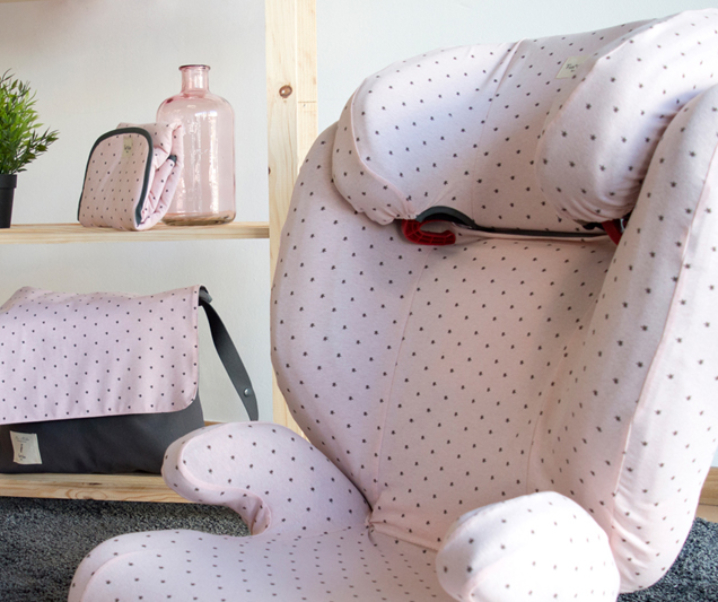
- A piece of fabric (ours is from Fun *das Bcn Mint Arrow)
- A wooden frame of 20 cm .
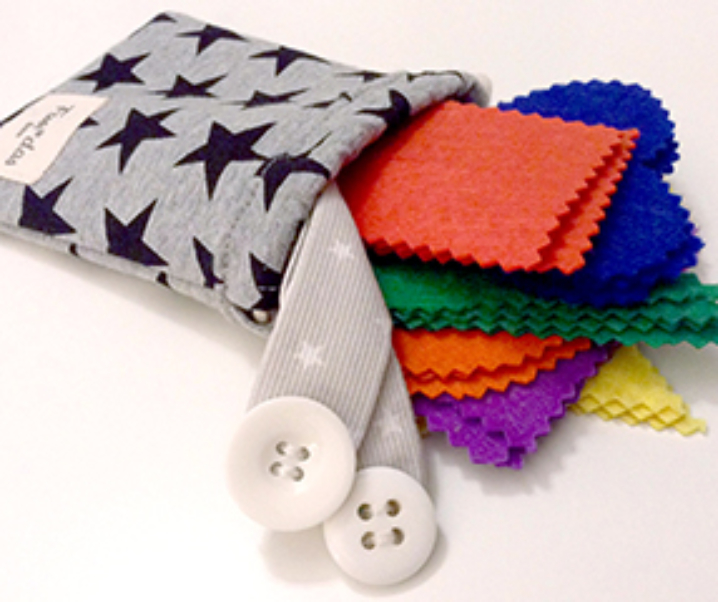
- A piece of felt with a contrast colour
- Needle, embroidery thread , scissors .
- Pencil or pen
- Fabric glue (optional)
Step by step instructions:
1) Place the fabric on the frame, keep it tight but be careful not too tighten it too much that the pattern looks distorted. Close the screw. TIP : Leave excess fabric outside the frame in order to adjust if needed during the following steps.

2) Handwrite your baby’s name on a small piece of felt. If you prefer you can use a computer to print the name with your favourite font. If you choose this option the name dimensions should be approximately 10×15 cm. The front used in the tutorial is Chasing Embers , you can download it for free following this link:
(LINK: http://www.dafont.com/es/chasing-embers.font)

TIP : To remove all traces of pencil marks on the felt, put the printed name backwards. In that way, if there are any marks left they would be on the other side.

3) Cut the piece of felt as precise as possible with the help of scissors and cutter.

4) Put the name in the middle of the fabric and secure it with pins as if you were going to sew it.
If you prefer you can use fabric glue to simplify the process. If you do, make sure the edges of the letters are well glued. If you’re only going to put the name you can leave it in the exact center, if you prefer to add a birthdate, then put the name slightly towards the top margin.

5) If you have chosen to sew, use the right needle.


6) Do you want to add the date of birth or a short text underneath? Handwrite with a pencil or pen under the name and sew it with needlesTIP : To erase the pencil marks use a small soft toothbrush, some water and natural soap. Rub very gently and let it dry.

7) Put the fabric back in the frame, stretch it but without deforming it, and tighten the screw of the frame. To finish, cut the excess fabric for a perfect finish and hang it on the wall!

That is all! Your frame is ready! A great DIY accessory made with love.
We hope you enjoyed this tutorial.


¿Qué te parece?
You must be logged in to post a comment.