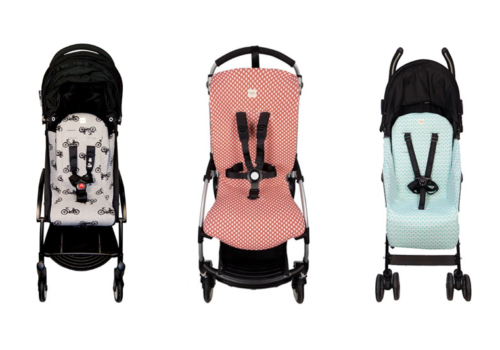
Top 3 pushchairs
Deciding which pushchair to buy can be daunting and confusing. There’s an array of different options and you might feel tempted to follow your friend’s advice or the retailer’s recommendation. ...

Deciding which pushchair to buy can be daunting and confusing. There’s an array of different options and you might feel tempted to follow your friend’s advice or the retailer’s recommendation. ...
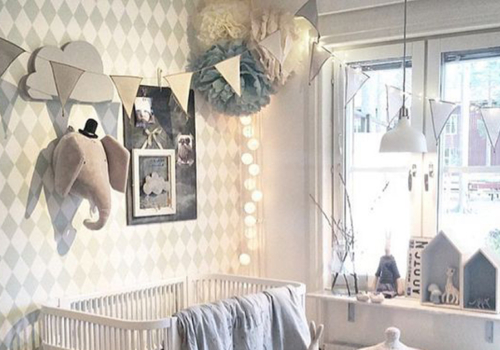
Whether you're preparing your first nursery or redecorating your children's bedroom, we've got some great ideas to help you create the perfect bedroom. We believe that small items and accessories are ...
Do you have some scraps of fabric that you love and that you would like to use to make something practical, easy and beautiful? Then, this DIY tutorial is perfect ...
Do you consider yourself to be fun, adventurous and contemporary? Do you like design and illustration? We are confident that this brand, Bibu, will steal your heart. Founded by a Catalan ...
When Michael Obama visited Spain she said "Men who change diapers are praised and women who stay late at work are blamed”. As a rule of thumb, women earn less ...
You might have heard about Montessori as a liberal and innovate education system. But some parents apply this revolutionary method at home. They get inspired by the principles of Montessori ...
Fun*das bcn travelled to the British capital on the 19th and 20th of June to visit Bubble London, the largest children’s fashion trade show in the UK. Our first impression was ...
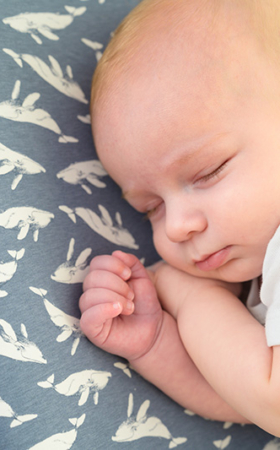
¿Did you know that all of Fun*das bcn products are made with high quality cotton? Cotton is a naturally soft material that has many benefits for the delicate skin of your ...
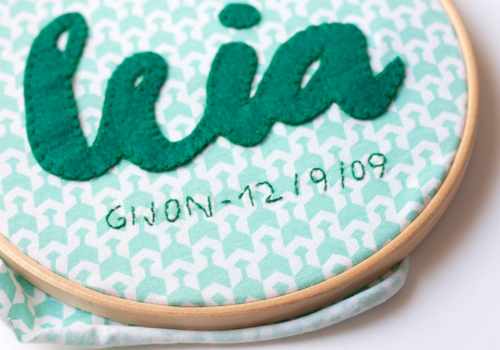
Are you decorating your baby’s bedroom? Are you looking for something different, with a homemade touch? In this tutorial, we explain how to make a simple but beautiful frame. The result ...
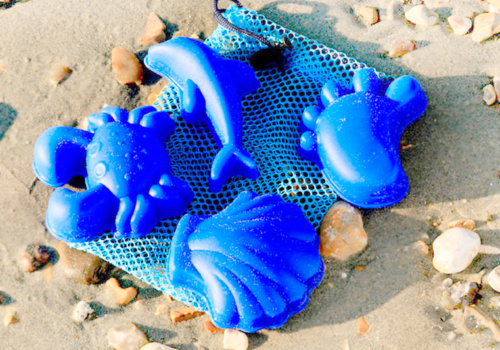
Almost without realizing it, summer is almost here. We know Fun*das mums love practical and stylish products and plan ahead what to pack for their family holidays. If you want to ...


Lo + leído
DIY: Homemade frame
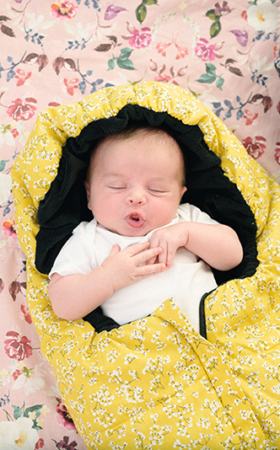
Why put covers on your baby car seats? We give you 7 reasons
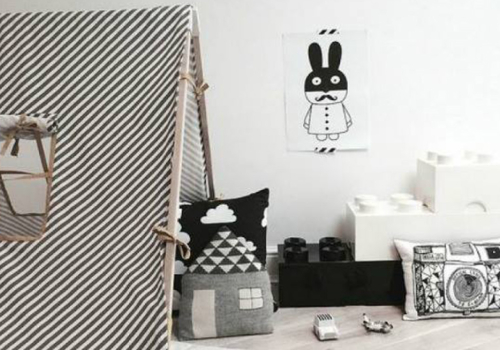
Bunting
When do we start to educate our kids?